Plume Generation
This doc contains the steps to generate a plume in QGIS directly.
Load subcatchments in QGIS
- Load
subcatchmentsas a pushpin layer in QGIS. - Before generating the plume, you need to chose a center point for the plume.
- To do so,
- Go to the Attribute Table of the pushpin layer.
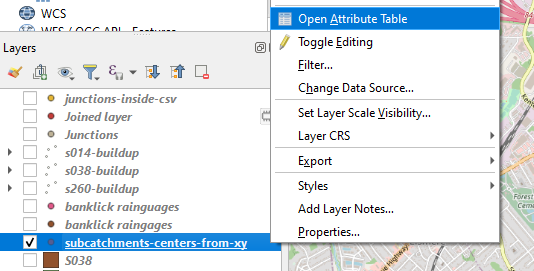
- Once the Attribute Table is open, choose the
subcatchmentyou want as the center of the plume. - Click on a
subcatchmentwill highlight it in theYellowcolor. - To select multiple subcatchments, press CTRL and click on the desired subcatchments.
- Go to the Attribute Table of the pushpin layer.
- Now your chosen subcatchments should appear in Yellow color on the map.
caution
If you skip this step, you won't be able to check the option Selected features only in the next step.
Buffer to generate a plume
- To generate a plume of an elliptical shape, in the
Processing Toolboxsearch forRectangles, Ovals and Diamonds.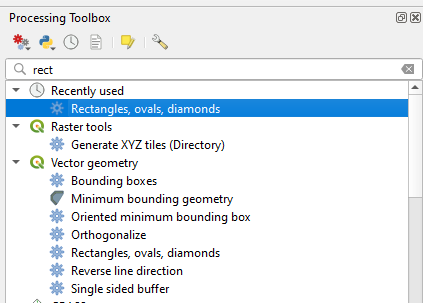
- Chose the subcatchments as the input layer. Check the
Selected features only. - Make the shape as Oval.
- Set the width to 6000 ft
- Set the height to 12000 ft
- Optional: Rotation of 45
- Segments: 1000
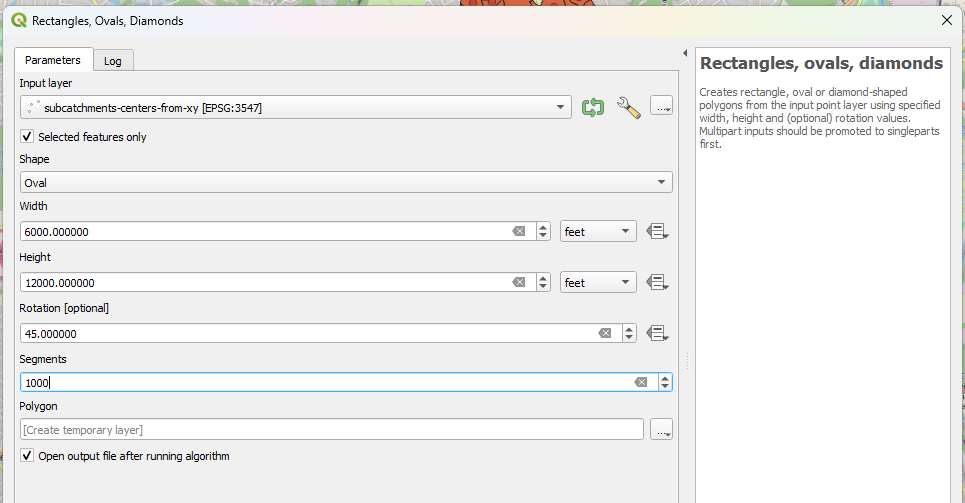
- Click Run
- Ta-da! Your plume is ready.
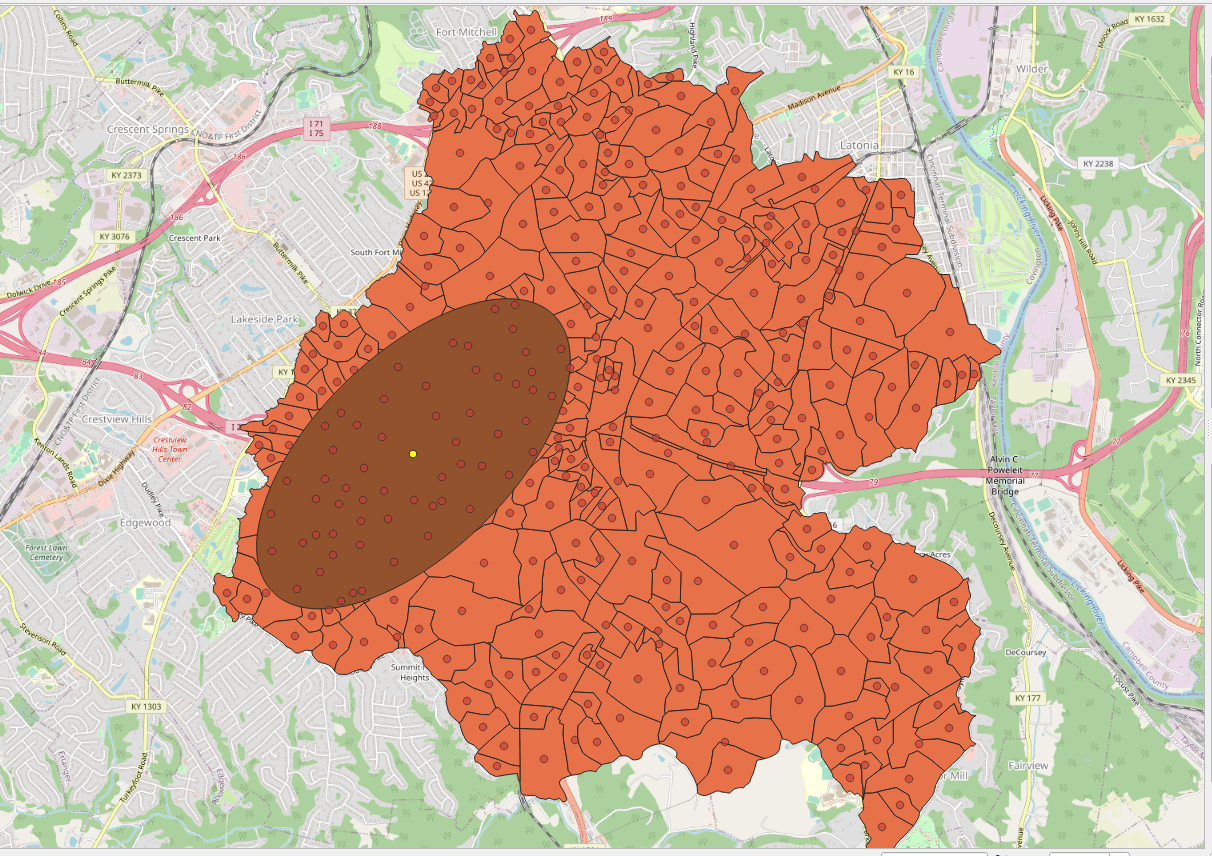
Subcatchments affected by plume
To find the subcatchments affected by the plume, do a Join Attributes by location.
- Make the
pushpinsas the base layer. - Make the
plumeas the join layer. - Check
Discard records which could not be joined.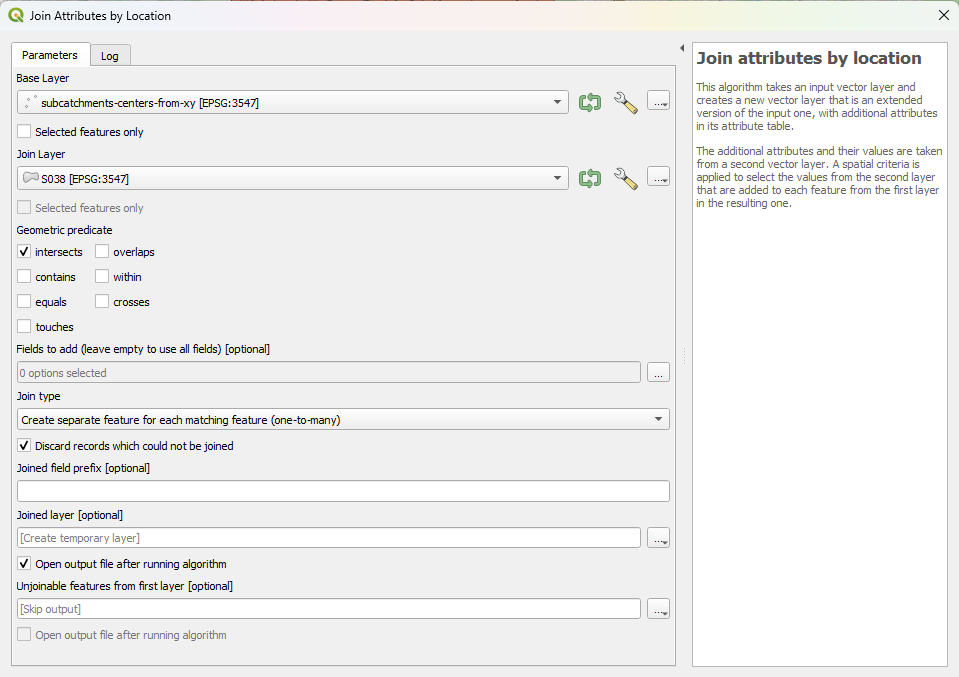
- Click Run
- You now have the subcatchments affected by the plume.